
 |
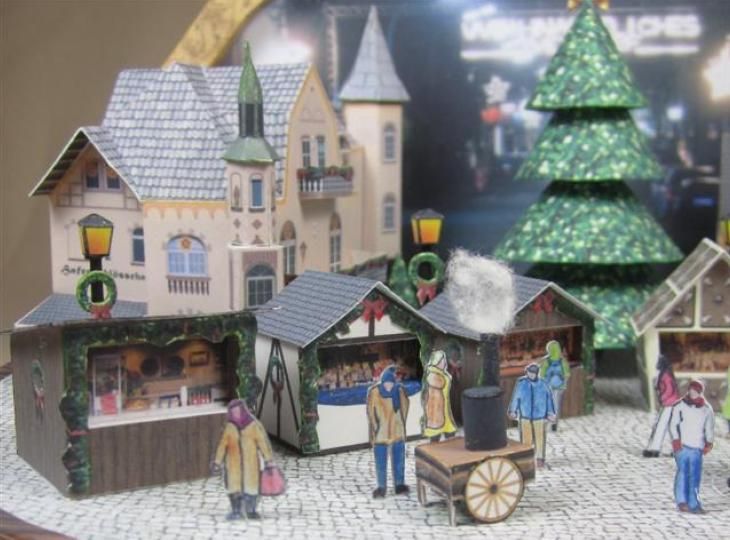
| Cute little paper diorama - more examples HERE |
Almost 3 weeks ago, at approximately ....oh... lets say 12:01 on November 1st, 2012, the Christmas season officially started (well, except for a certain card company line of ornaments, on sale in August of each year when it is still full on summer , which is a tad depressing, but I digress). The malls are all decked out now in Christmas finery, although I note Santa is not quite entrenched in the grotto yet - much to the disappointment of the small boy yesterday who saw a giant gorilla display in the middle of the mall and proclaimed excitedly to his mother that "Santa Is HERE!". Probably it was a mild let down when he discovered the fat jolly oversized toylike figure was in fact a statue of a vegetarian precursor to his own species, inexplicably paired with a display for a smoked meat and cheese stand. Or not, some kids have strange Christmas wish lists.
I do love Christmas though, even though it can be a time fraught with family angst, hard feelings, fights, and strange compulsions to suck up to the boss with generic group gifts bought with money extorted from the lower ranks by some alpha worker higher up on the food chain. I am willing to overlook all that, however, and go straight to the Christmas trees with their festive merry lights, the cheery songs (although I could give the occasional social posturing Christmas carols a miss, you know the ones of which I speak...), the sparkles, the food, the brightly wrapped packages, and of course the magic that can happen if you are very fortunate indeed.
Today in club, we kicked off the season in a tiny way - little Christmas dioramas. The project was led by member Elizabeth. It was a fairly straight forward project, although when she suggested a magnifying glass...she meant it.
 |
| Christmas Diorama Box |
 |
| Tiny Box! |
The project was essentially a smaller version of the shoe box diorama, in which you start with a background picture, then add features coming forward in the box to add depth to the scene. Here is a picture of what we started with...
 |
| Paper printie with box, insert, and characters |
The box parts were scored, as was the insert lines. We tackled the insert first. We got our folds nice and crisp, then unfolded again for the next step. To make the tree sparkle, we applied small amounts of glue to the Christmas tree, and dipped it into a fine glitter (Martha Stewart brand - it was indeed a good thing). We set that aside to dry, and built the bottom of our box. To release the tabs, we made small horizontal incisions (but not vertical ones) on the tab lines. We then glued the tabs to secure the box. Next, we tackled the top of the box, but this time after scoring, we cut out the front panel for the window, and we made vertical incisions into the tabs. This was to distribute the bulk as much as possible so it wouldn't get too thick when folded - remember, the tinier the endeavor, the more important it is to thin down the bulk for scale.
 |
| Workin' hard in Santa's workshop |
We tackled the "window" next - which was a piece of clear thin plastic. We dry fitted until we had the "glass" just a little bigger than the "window", and carefully glued it in. We proceeded to glue the box together at the tabs, and set aside to dry.
As the insert glitter treatment was dry, we moved on to cutting out Santa, and gluing him a little forward in the box (again, to give us that 3D feel). Once he was dry, we added some slightly heavier glitter to where Santa was standing, and along the base - not, however, covering the tabs. We did bend the tabs up to make sure we had enough clearance at the tabs, so the insert could be bent into a box shape.
Once that glitter snow was dry, we cut out the little tabs (again, reducing the bulk) and inserted it into the bottom of our boxes. The lid was added and voila! A tiny Christmas diorama, ready to add a little ambiance to a 1/12 scale scene, such as the one that is being developed below...
 |
| Rosemary's Santa and Mrs. Claus diorama in progress |
All in all a great little project! This could easily be translated to a different season, of course - Easter, Hanukkah, etc. Imagine, the whole world, in a portable little box - very meta. Hope you enjoyed this small foray into the early days of Christmas 2012... until next time, my little elves!
 |
| Maggie the Dog keeping an eye on us all |
No comments:
Post a Comment