

This guy sums up my week. I have been assured that every work site has these people - you know the ones, the sneaky, the manipulative, the inconsiderate, the clueless, the bordering on psychopathic with the Napoleonic complex - that seem to have one thing in common - they are totally oblivious to anyone's concerns but their own. They will be your best friend when they need something, but otherwise you are just a little more useful than toilet paper, and if you are in the way one day - prepare to be flushed. Oh, how I wish I could suffer these fools gladly, but sometimes they just get to me, and I become just about as safe as pouring acid on water (N.B. - do not do that!). I wonder if they are just there precisely put in place to challenge the more sane workers ...maybe it is the universe's way of saying "what, you are BORED? Well, have I got a nemesis for you!"
Personally, I would rather be bored. Too bad there isn't a cure for boorish behaviour - lobotomy comes to mind, although then they can justify taking extra sick days and you just end up covering for the bums. As I say, the infestation is everywhere, so I guess what ever makes me stronger doesn't kill anyone.
Happily, I get a full week away from "them" again - a whole week, can you imagine? Escape! I thought I would run away with the fairies today (sadly, once again, no blue police box shaped time machines have appeared, so I will make due with what I have) , and I started my Victorian Fairie Theatre.

This combines a couple of my favourite things - whimsical fairies, and Victoriana. It is a design by Jean Day . She does some lovely little kits in 1/4 scale, by the way, and very detailed they are, and she generously also has some DIY free patterns on her site. The was not a kit available on her site - it was actually a work shop she held years ago (2007, long discontinued), a closed workshop and limited kits made. One of my clubmates brought hers for show and tell, and of course I had to have it, so I may have done a little undignified grovelling/pleading/begging until she got fed up and she made a wonderful exception for me! I ended up putting it to the side, and have been thinking about it intermittently for the last few months (I tend to be a collector of kits, rather than a builder of same, but I am trying to get help for that).
As always, we start by looking at all the lovely bits.

Bags and bags of lovely bits! Even down to the supplies to make the wee fairie folk.

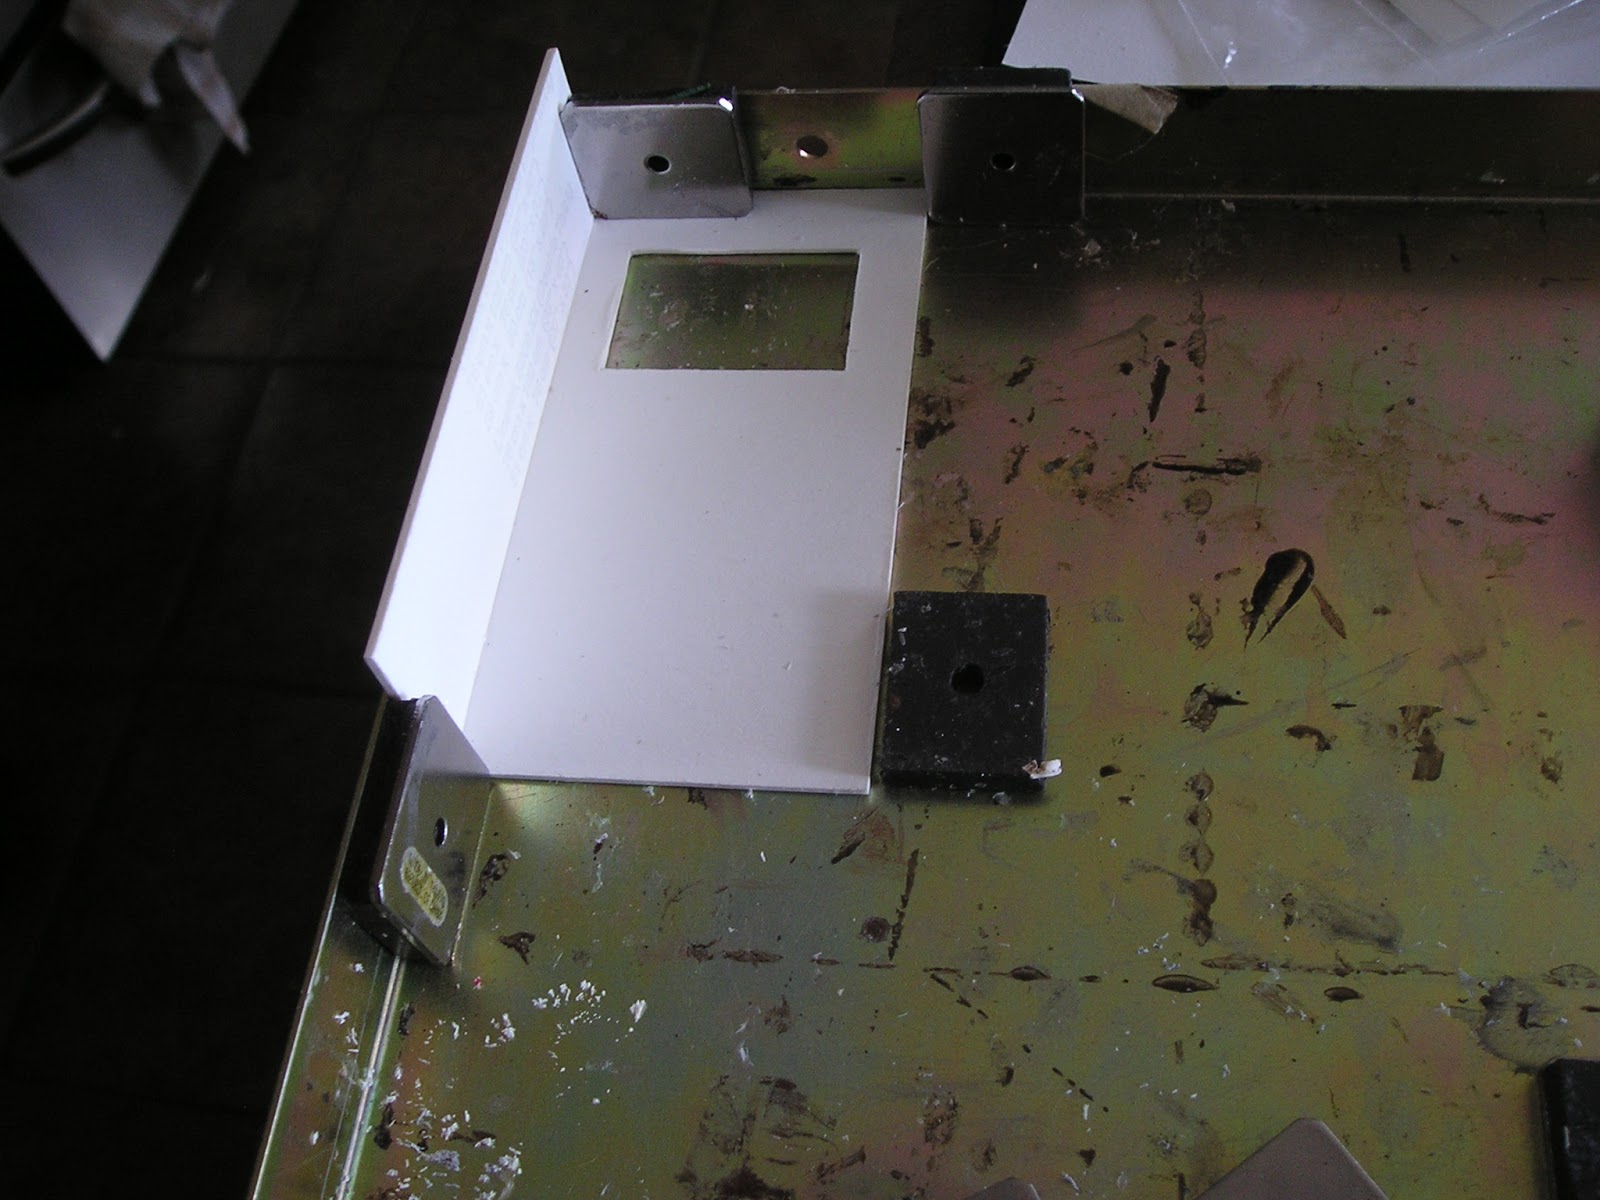
A little bit of a puzzle. This reminded me of a couple of reality shows I have been following and have followed. One was a Handyman challenge, where contestants were given raw materials and told to "build"- no patterns, just using their own handyman ingenuity. Another, a baking contest, would give vague instructions - which meant one had to fill in the blanks and rely on their training. This project was a hybrid of the two. Included in the pile was the theatre proper, and also an insert that sat on a shelf. It took a little creative thinking to figure out which bit went where.

When building something blind like this, it is best to dry fit, and something that is handy is painter's tape - it won't ruin the finish on the matboard pieces (if you are careful, of course - there is always some joker in the crowd that will have a horror story, so I cover my bases).


Hmm...a piece left over. There are always pieces left over, right? No? Well fie. Back to the drawing board.


Since the insert has to fit inside the theatre as nicely as possible, I enlisted the help of a jig I bought 20 years ago, which has a metal base and wee magnets. As I did need a specified value of accuracy here, I let the glue dry for a change, and took a short ice tea break.

Yum, freshly brewed rose ice tea....mmmmm. Doesn't that look good!


The theatre from the back, pre-insert, fully assembled and glued and - the best part - no extra bits left over!


That pretty much covers my day - In case you were interested in making a nice little fairie cottage for yourself, I found a nice little video that shows how to make a cottage out of one of those dollar store type bird houses (or craft store bird houses). This could be a nice little summer project, and it is something that can use up your "not quite in scale but I am not about to throw away" stash. *Warning: this a bit of a glue commercial, but still a handy little tutorial! You might be able to find a number of wee fairie folk at Michaels (in the Toobz toys). Don't forget to put out a little milk and bread, stay out of suspicious rings of fungus, and until next time we meet, stay safe my lovelies!
No comments:
Post a Comment