If you are of a certain age, you remember this game. I didn't play it a lot, but I remember my college computer lab was often jam-packed with bleary-eyed Tetris players, listening to the very distinctive music (below), and losing hours a day making small coloured pieces line up and disappear.
It was often difficult to get computer time in the school lab during those manic days if you wanted to do something trivial like - oh, I don't know - write a school paper or something. Eventually the lab staff was forced to limit gaming time on the school computers, because it was found that - left to their own devices - Tetris players would have to be block-tackled off their chairs in order to to stop them hitting those arrow keys, and further sedated to stop them from humming the theme music. This was in the early days of "computers used by the common folk" , mind, so the graphics and speed on this was cutting edge and really video games still - if not in its infancy - then probably in that gangly tween stage, and it wasn't really understood yet that people can be consumed by a game (I find this amusing that "they" found this surprising, given some individual's strange obsessions over comparatively meaningless sporting stats, but then again that is always the case when it comes to mainstream obsession and the nerdly kind, but I digress). As games go, however, this was pretty innocuous - actually a rather good game for anyone developing their spatial skills, come to think of it. Perhaps if students had been told they were actually developing their minds, the computer lab staff wouldn't have had to actually wheel some of these dedicated scholars out of the lab and dump them unceremoniously into the hallway so the rest of us could go in and finish that report we had been putting off for reasons of our very own.
What is that you say, why am I rambling on about a fairly ancient game? Well, it is part of the reason why you are reading this blog a couple of days late. I decided to rearrange my house. I have mentioned that I have been in various stages of chaos this summer, waiting for elusive unicorn workmen, and I finally got sick of it. Well, that and I seem to have a windfall of guests coming to my house, plus a gift of more storage arriving eventually in which an outsider would see the tornado hit by a tornado action in here, so that is incentive enough to "straighten up". I live in a fairly small house, so I have to be very creative in how I place things and - so I don't have to re-destroy my 100 yard tidy looking for things - everything must be logically accessible and hence the Tetris comparison. It has taken me 4 days, but I think I am winning. Wheezy from over exposure to dust and exhausted from lugging surprisingly heavy treasure up and down stairs, but winning. Enough, anyway, that I can sit down and rest a bit.
My initial thought was to work on my Dutch baby house. I actually took my DBH out of its box, and looked at the numerous pieces I bought earlier this month.
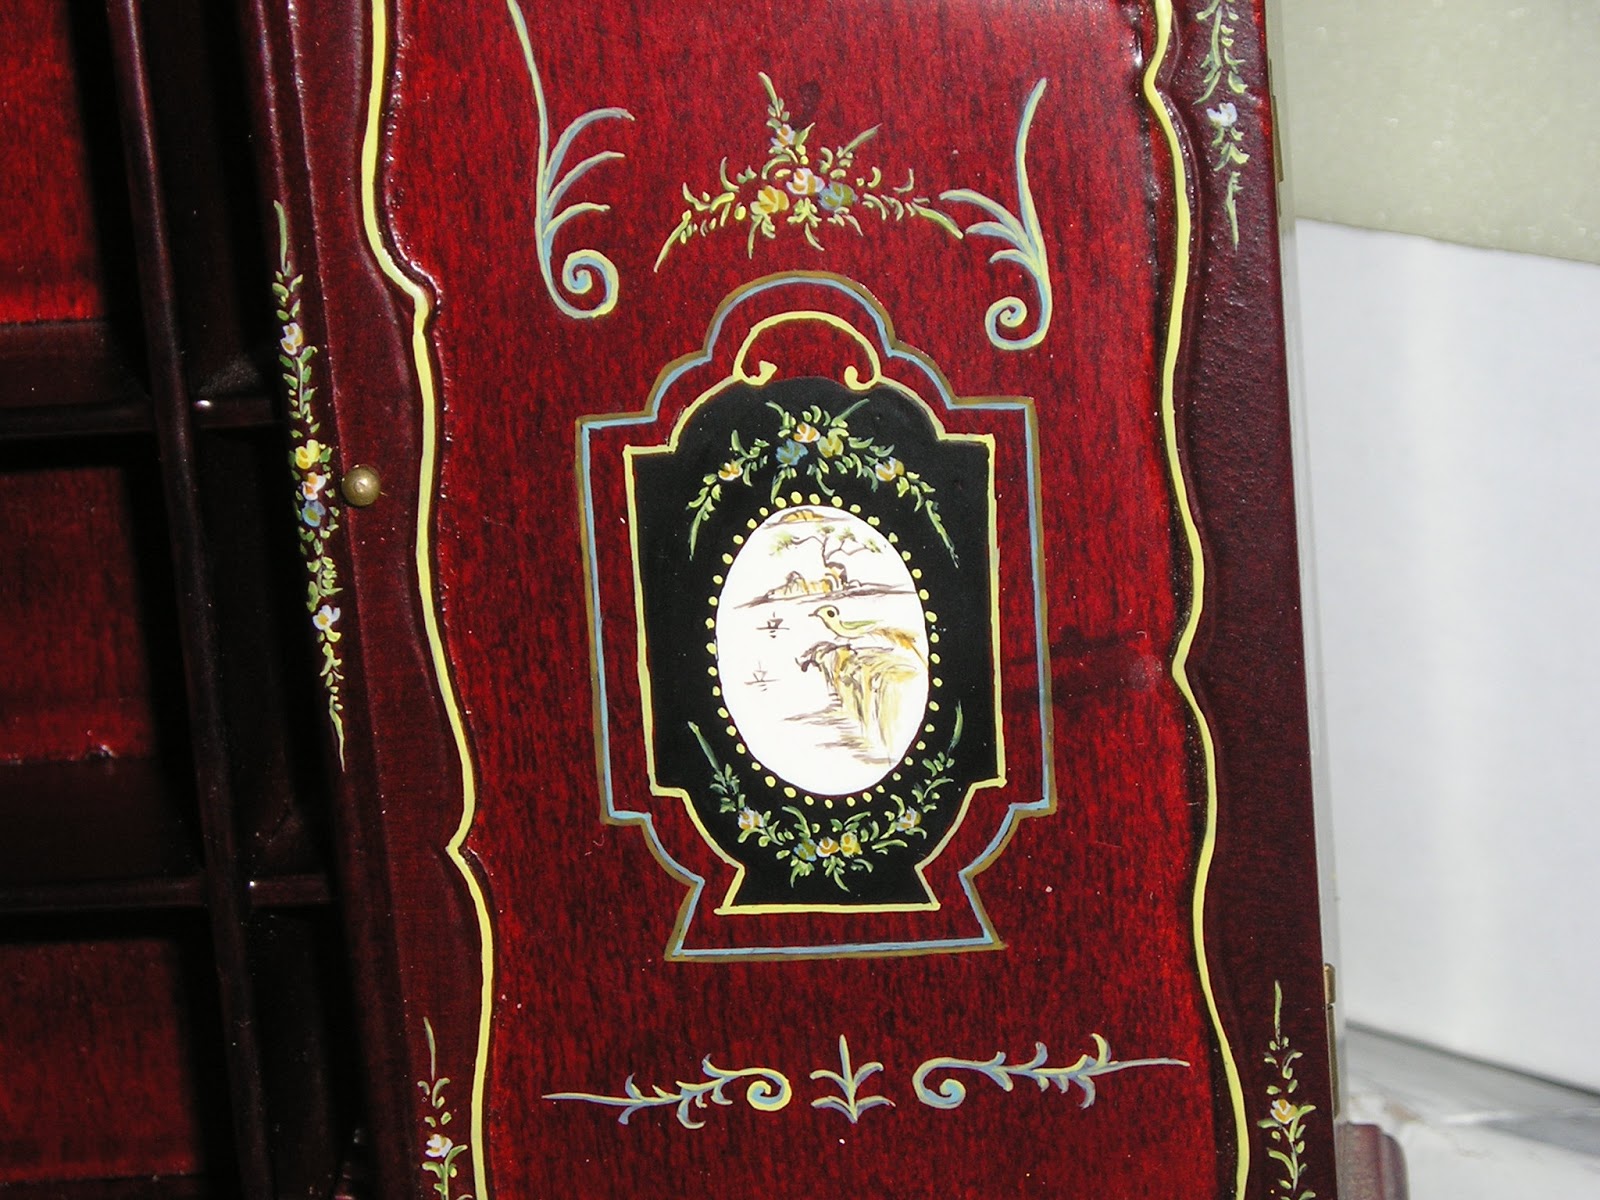
Forgot how lovely it was. This is a Bespaq cabinet that I picked up at a show.
A close up of the detailing. Really quite spiffy!
Each package is a room kit. Upon looking at this, and going over the instructions, I decided - this is for days when I don't have people descending on me, and especially when I don't know where a lot of things have gone since I put them away (the number one problem with cleaning, I find) and because I would like to develop some inserts so I don't have to work inside the cabinet.
So, something I could do that would use minimum materials, but something that I would enjoy making...how about giving a doll a try?
First step, making a wire armature (see video on how to make this By Regina Edmonds below, as it is easier than re-inventing the wheel, or doll armature in this case ).
Regina uses one of her own molds with the wire. I just built my doll around the wire itself. If you are planning on following suit, I would suggest that you build up the anatomy. I had to do a lot of clay adding to get the bulges and bits in just the right spots, and one has to remember the body has to BEND in the right spots as well. I used a green cloth covered wire - my advice is to use white, it will blend a little better inside of the doll ( I found the green could be seen through the opaque sculpey I was using as my base clay).
I found, as I was cleaning, that I had purchased faces, hands, and feet at one point (so cleaning up your work space does have a few benefits). Some of the faces were far too big, but the second smallest one was not too bad for a face. I did use the hands, and could have used the feet had I not already sculpted them. I might invest in a better push mold of faces eventually, as this is really for more cartoony type endeavors, but since cartoony was more what I was going for today, what I had was fine.
The cloth covered wire generally comes on a spool, and it can be found in the wedding section or in the floral section of a well stocked craft store.
Here is my doll. I haven't made too many OOAK dolls, but she didn't turn out too badly. Certainly better than the last doll, which looked like this...
No, stop teasing. The similarities are NOT uncanny to the above. Honestly, this was more reminiscent of my last doll, who was too beautiful to live, and didn't make it past the sculpting stage.
A few more views. I want her to be a bathing beauty, and also she will be eventually holding a book, hence the arms.
Skipping ahead, here is my bathing beauty, mostly painted. You will note a slightly opened mouth and a belly button. These are two things that will give a little life to your sculpture, and something people forget to do - especially the belly button (remember, you can't be a mammal without one!*).
*All mammals do have one, just some mammals hide them better than others.
She has a really cute face, given the more cartoony mold I used for her. I got the ears nicely placed as well. It would have been nice to make the mouth wider and added a few teeth as well, but not necessary.
The painting detailing around back. I painted with "flesh tone" (aka what some paint company thinks Caucasian skin colour looks like) but I "pinked" it up a bit with some red, to give my bathing beauty the look of being outside in the sun too long. Bad bathing beauty, this isn't so good for your skin!
Hair is tricky but I learned a good trick a few years ago - curl embroidery cotton around a knitting needle, slightly dampen it, add a little glue and let the whole thing dry completely. What you pull off the needle is oodles of naturally curly hair. It is a matter of placing it thoughtfully to your doll at that point. The nice thing about using embroidery cotton (also called floss) is that it comes in a myriad of colors. If you are a realist, you can actually get "real" hair, but I do like the embroidery floss, and it is a little more forgiving.
She looks a little cross-eyed in this shot, but that is just bad lighting on my part. Really, I want you to notice her cute little hair do. I also added some flip flops to her feet (painted).
My bathing beauty has taken my advice, and is sporting a big floppy hat (crocheted, modified fashion doll hat).
D'awww! She is a sweetie!When my guests subside, I will have to make her a little parasol (as per video below) and hunt around my "already mades" and see what I have for books. I could make her a polyclay book as well, come to think of it. And shades, she will need sunglasses eventually.
Hope you have enjoyed the creation of my bathing beauty and we will talk soon!
PS: Blogging might be a little sporadic for the next few weeks, but hopefully all will get back to business by mid-September. Hoping you have a wonderful last few days of August!


