October, of course, is Miniatures Month, and to celebrate, our group recently participated in the N.A.M.E. project day. We built as a group a pedlar's cart - we had a choice of 1/4 scale, 1/2 scale, or 12th scale - or we could do a combination of all three. I ended up doing a 12th scale, but have the 1/4 scale in my stocks at the moment. I did some last minute shopping, assuming there is one left, of 1/2 scale, because one can never have too many pedlar's carts, amirite?
We started the day off early - too early, some would say, but they soon left and we were left to get off to a roaring start (after some initial misfires, but that often happens I suppose).
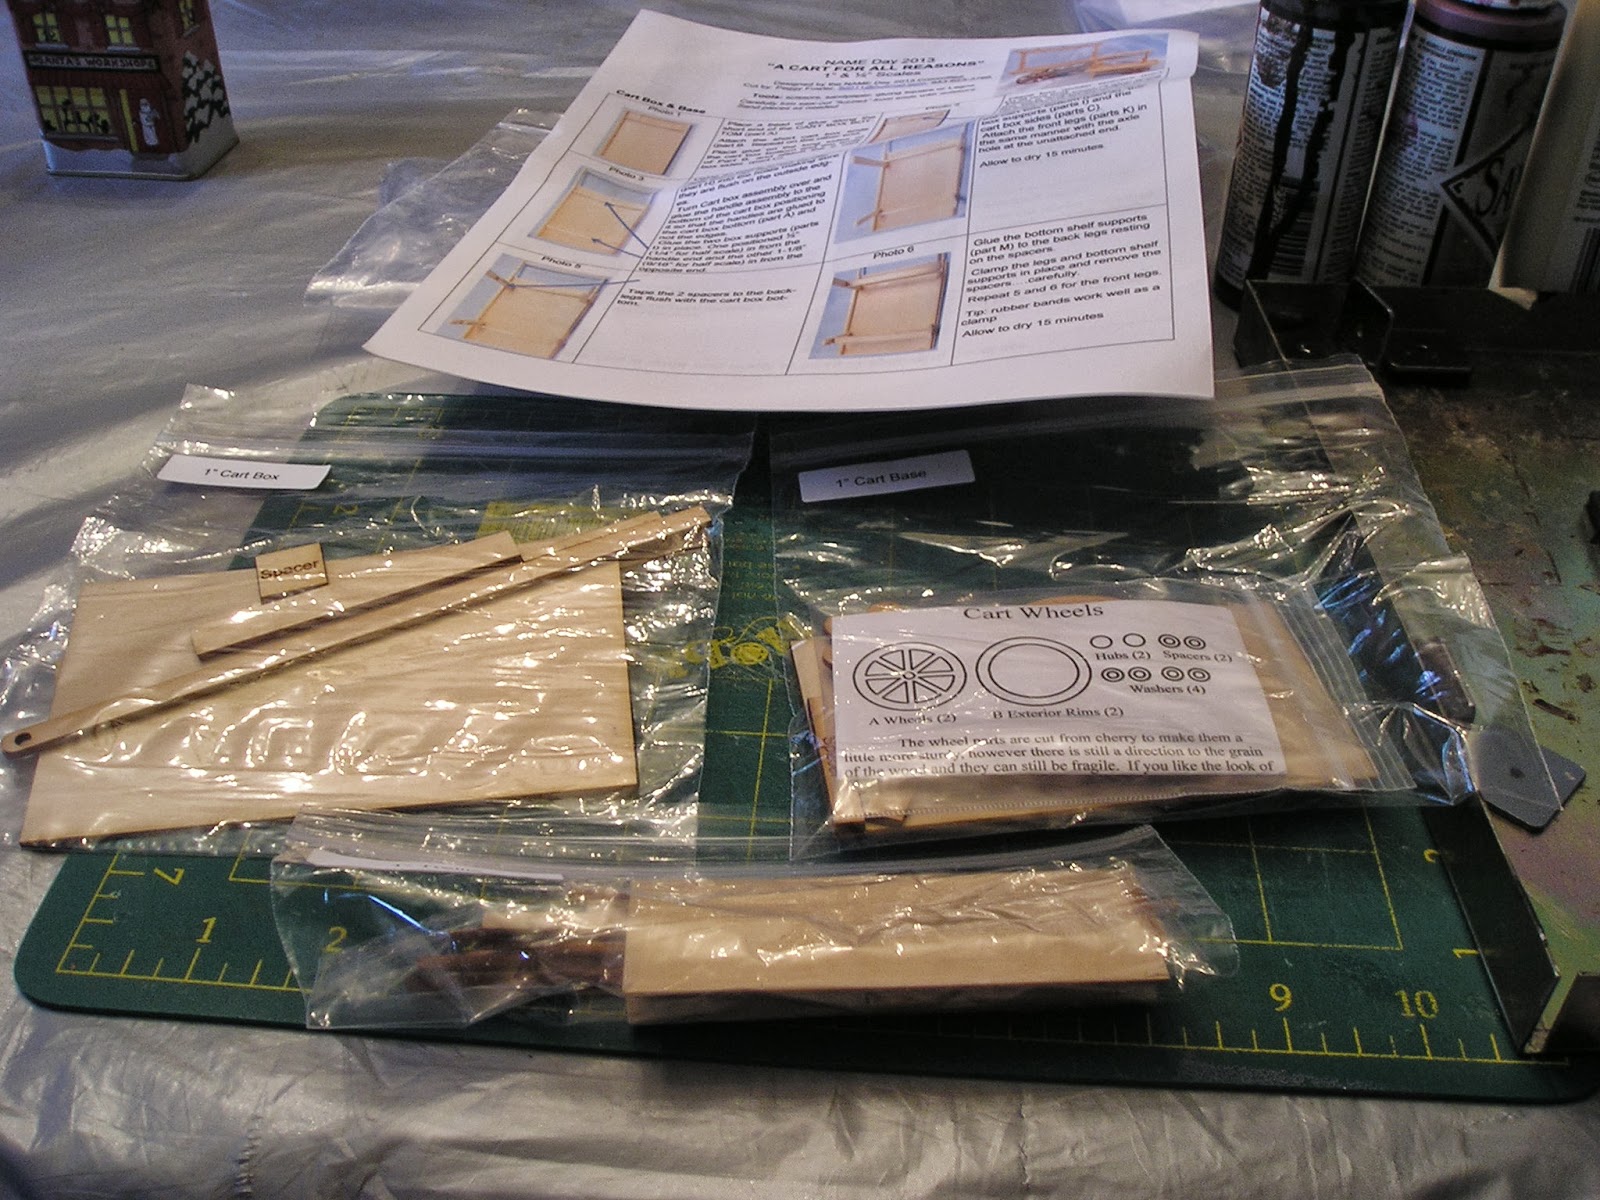
As always, we start by opening the lovely packages and staring excitedly at the plans, then start looking furtively left and right to see how everyone else is starting. This kit was complete, including wheels an' an' EVERYTHING. The only things we really needed to bring was our tools and glue, but we never go anywhere without those, right?
Figuring out which part goes where. Would have been nice to have had diagrams or the pieces labelled, but since the large cart was all of $7, one mustn't grumble. The big trick was to keep your pieces organized, however.
Getting everything square was crucial, so great care was taken.
The cart box, taking a little more shape. I, of course, managed to put the small drawer on the wrong end again, but I have decided that is how I roll (get it, roll? cart? yeah? Nothing? hoookay then.)
Time to start adding the bottom structure, with cart struts, etc.
Flipping 'er over, and adding wheels and top supports.
Little elves, working hard - oh yes PRODUCT PLACEMENT. International Delights, I hope you are paying attention and are willing to award us with swag?
No time for pie! Must build....
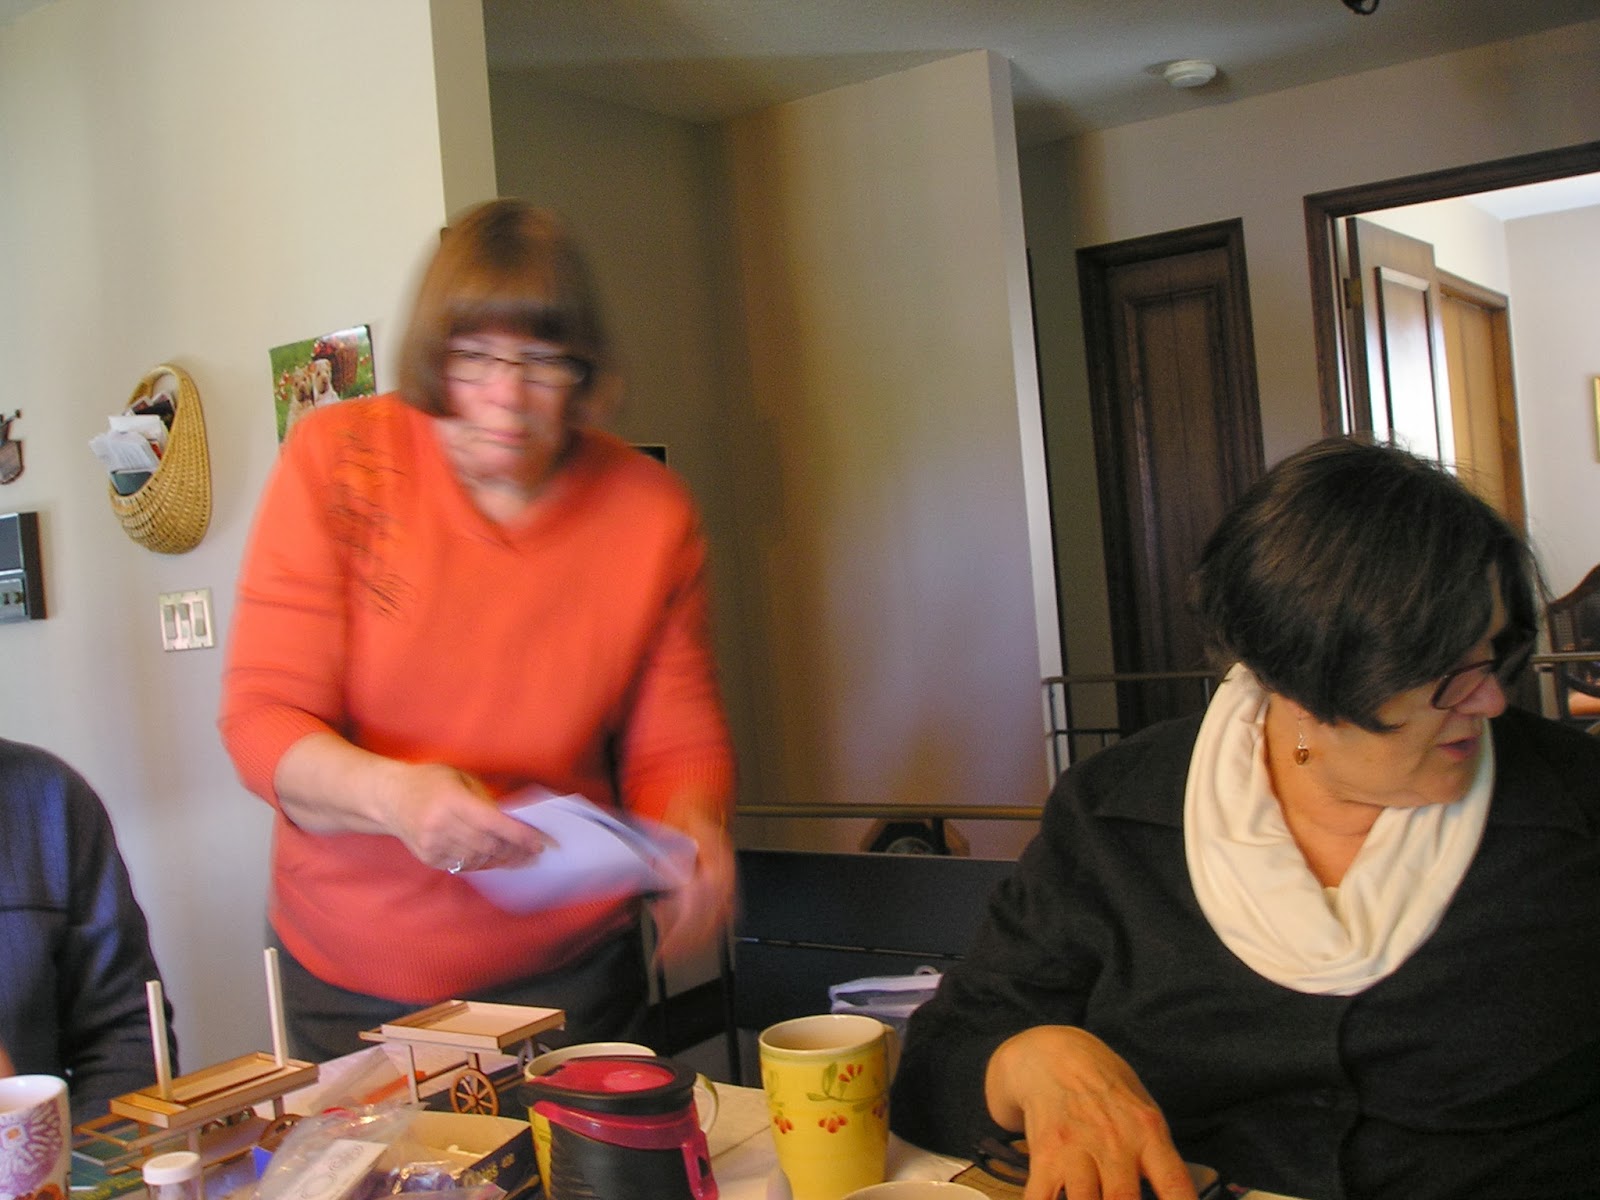
People happily working, and just getting the job done.
Just before the wheels went on. The wheels were clever, although one had to be very careful not to force the axle too hard - there were a few sad little snaps happening. I found my axle too thick so I did a little judicious sanding just at the end.
The finished cart! I stained mine raspberry, and then went over it again with mountain green. I roughed it up as well. I am quite pleased with it. At this point, a picture formed in my mind of what I wanted to do - a coffee cart (this may have had something to do with an early threat in the day of there being no coffee forthcoming. They don't know how close I came to leaving right there and then. No coffee is grounds for dismissal, after all. Happily coffee did appear and no one got beaned). My coffee cart will have a twist, however. I have a lovely doll I bought from dear Cate many years ago...my lovely Esme. Esme strikes me as a lady who likes to socialize, and coffee is a social drink.
Esme of course is pictured with a mandrake root, which is around here somewhere, I just can't find it. If you look closely in the cart, I do have a spider plant in there, but I have to find my mandrake too. I have a great many ideas, and not enough hours in the day, but it will all come together (this is why we need more than one cart, I suppose). Anyway, Esme specializes in Witches Brew coffee. There will be a few references as well - she will sell some apples (its a family thing), along with coffee, treats, potions and spells. I have to dig out all my Halloween ephemera that I have floating about, and I have been taking advantage of Halloween sales as well this past week to get supplies for her cart.
Also, I wanted potion jars, as Esme is going to be asked for spells and what self-respecting witch goes out without her magic? Now, these right scale jars can be expensive and hard to find. However, I went into a dollar store and scored - very inexpensively - nail art kits. They were $2 a piece. I got 18 jars in total, and I don't even really have to fill them either. Granted, I got a lot of nails and glue, but I am sure we can find a use for those as well. If you know someone fashion-forward tween, you might be able to beg jars off them as well.
I also made Esme a rather wild little Cappuccino machine - this is what happens when you listen to vintage Dr. Who while you design, it is a very fun Cap machine indeed! I have posted the instructions for this before, and I will again (with the suggestion, don't have the sound on - just trust me on this, okay?). This is basically a copper pipe fitting (any hardware store, and they are inexpensive - some of the fittings look a lot like other things, it is worthwhile to dig!) and an assortment of different jewellery findings etc. Mine came out a little more steam punk, but that is okay, Esme is not your average vendor.
What, you say? What did everyone else do with their carts? Well, I haven't gotten any pictures in yet, although one talented and well organized lady (Sherrill) did finish a wonderful 1/4 scale flower cart. She made every single flower herself as well (premade, I should say, and I have said this other times, the success is ALWAYS in the pre-planning). She had a whole tray of OMG SQUEEEE flowers, and darn it if she didn't use each and every last one.
Her flower pots were quite interesting - these are beads glued together, or interesting beads, etc. She used a superglue gel to build bead vases. Apparently it is a unicorn substance, because it appears rarely and to only to certain people. I did find a superglue with a brush included, which actually was close and a lot more useful than the tubes. The flowers above were made from pre-cut petals that Sherrill found at one of the shows, but she took the bits of paper and made magic.
Examples of her metal vases from jewellery findings....
These little vases below are actually pieces from turned newell posts etc.
Really, anything that looks right is good in 1/4 scale - much of it is sleight of hand.
This is Sherrill, diligently putting together the teensy 1/4 scale cart. This gives you a good idea just how small they were. Sherrill also built a stand in her cart to display her flowers, which I will do as well - it just gives you a bit of height and extra space.
Sorry for the fuzzy picture, it was difficult to keep still, if only because of the tiny size.
A slightly clearer picture, which does not even come close to what this looked like in real life. The finished article, however! Well Done, that girl!
Hope you enjoyed the glimpse into the N.A.M.E. day event, as done by MECO! Until next time, my sweet petunias!


