MECO Show and Sale

MECO Show and Sale
2016 Show & Sale will be the Saturday 14th May 2016 held at the Peachland Community Centre in Peachland BC. contact person Barb Janes-Yeo at 250-757-2842 barbandpaulyeo@shaw.ca

Sunday 13 January 2013

Heating Things Up

Google Image of Woman and Cook Stove
Yesterday was my birthday, and it was a lovely time had by all, although it has been a hard birth date to love over the years, admittedly (as anyone born within 3 weeks either way of Christmas will tell you.) First, you get combination gifts, as people see this as a grand opportunity to save money. Second, gift givers feel compelled to wrap said gift in Christmas paper. Those same gift givers are suitably confused when, in July, you hand them their birthday gift wrapped in Christmas paper, and tell them it is a combo gift for them, so you can save money *next* Christmas. Third,  December or January babies are more likely to find their gifts delayed by inclement weather, or their day plans scuttled by a blizzard and/or a sudden dip in temperature where it is too miserable to go outside at all. 

Over the years people have learned not to give me combo gifts, and not to wrap them in Christmas paper, as I have been a real humorless jerk about it all.  However, I so far have not been able to do do anything about nasty weather, and this weekend of course saw the coldest day we have had thus far this winter.  I think that we all need to warm up by the fire (how's that for a segue?).

Cook Stove by Fiona Broadwood
This is another offering from the Petite Properies gang. The design incorporates a way to actually light this stove up, which is intriguing. 

The project started, as always, with a paper template. Today I decided to draft the template from the patterns, rather than print it on my copier, as it takes a lot of ink and I wasn't feeling lazy today. 

Paper Pattern for Stove
Pattern Cut out
Before I cut the long sides out, I scored the inside lines, as it gave me a bit more stability as I was cutting. The circle is cut with a hole punch, and the little square drawn in the second panel will be a tiny door. 

Base of Cookstove with cut outs
Just to orient you on the base, the circle cut out goes in the back. That is the access should you wish to electrify the  cooker eventually. That little access panel to the fire on the front side was only 1/8 by 1/8 of an inch square. 

Oven Door, Ash drawer and Fume Hood
I was asked to cut out the oven door, ash drawer  and fume hood from scraps of "medium" weight cardstock. I used a thin cardboard from my recycling, as matboard was going to be too thick. Note the scale of these pieces. I was cutting them with scissors, but using tweezers to hold the pieces. The fume hood has a tiny metal accent across it, which is a very thin piece of wire. 

Oven Door, Ash Drawer, Fume Hood attached
These are the pieces assembled, with base still flat. The ash drawer eventually received a tiny little bead as a handle, although I cut a very miniscule piece of the thin cardboard for the fire access door handle, as the bead was insanely too large for the tiny door. To make the access door to the fire appear to have fire in it, it was suggested to glue a tiny piece of orange cellophane across the opening. I didn't have orange, but I did have a plastic Easter goodie bag that had orange incorporated into the design, and that filled the bill.

Base, painted
The base, painted. Originally everything was supposed to be black. Unfortunately, the problem with everything being the same colour is you lose the detail you just took great pains to achieve. I gave this piece a silver paint wash, and made the handles a copper color. The base in this case was painted before it was glued together - both sides.

Cook Stove Top
I went off script a little, in that I made a slightly thicker top for my stove. I cut out two pieces of the thin cardboard, same size, punched a hole in one and painted it black, with the second portion painted silver, as above. I didn't have any silver paper as they called for for the hot plate,  but I did have silver paint. Hint with metallic paints - you are better off to do a base coat of a matte color and then an over coat of the metallic paint. It gives the paint something to stick to, and you get a better look (in my opinion, your mileage may vary).  I glued these two piece together, and glued that to the stove. 

Stove Top Added
You can see the "fire" inside the open access panel. Its coming along! 

Stove with a Few Details Added
I added the hot plate lid, as in the source picture. It was a little plain, so I added one of my little stickers  I mentioned from last week and painted over that with black, to get a nice cast iron look to it. The chimney assembly is clever - an eyelet and a toothpick (cocktail stick). In the end I wasn't pleased with the straight up chimney, so I added a bend, as you find in the cast iron stoves. 

Oopsie
In looking at these two pieces together, I am not thoroughly convinced that I didn't mess up in measuring on one or the other piece. It might have been a mistake to photocopy one for the pattern, and draw out the other, but this is how we learn.  Although again, when I look at the picture at the beginning of this blog post,  that stove is teensy, and so arguments could be made that the above pieces "belong" together after all.

In trying to salvage the cookstove, though (although it might eventually be the sink that needs to be redone, we will see) I decided to add a little height to the stove. I have seen very small potbelly stoves and cookers, so it was worth a shot to add height, and adding interest to a piece is never a bad thing.

Skirt Assembly
I tell the truth when I said I used some thin cardboard. Apparently something that once housed espresso, my preferred morning wake up call, is being put to good use. I started out with a thin strip of cardboard, which I scored in appropriate places. I used a round hole punch to make the half circles for the skirt, then a base on top to stabilize the skirt assembly and act as a solid base to put the cook stove on. 

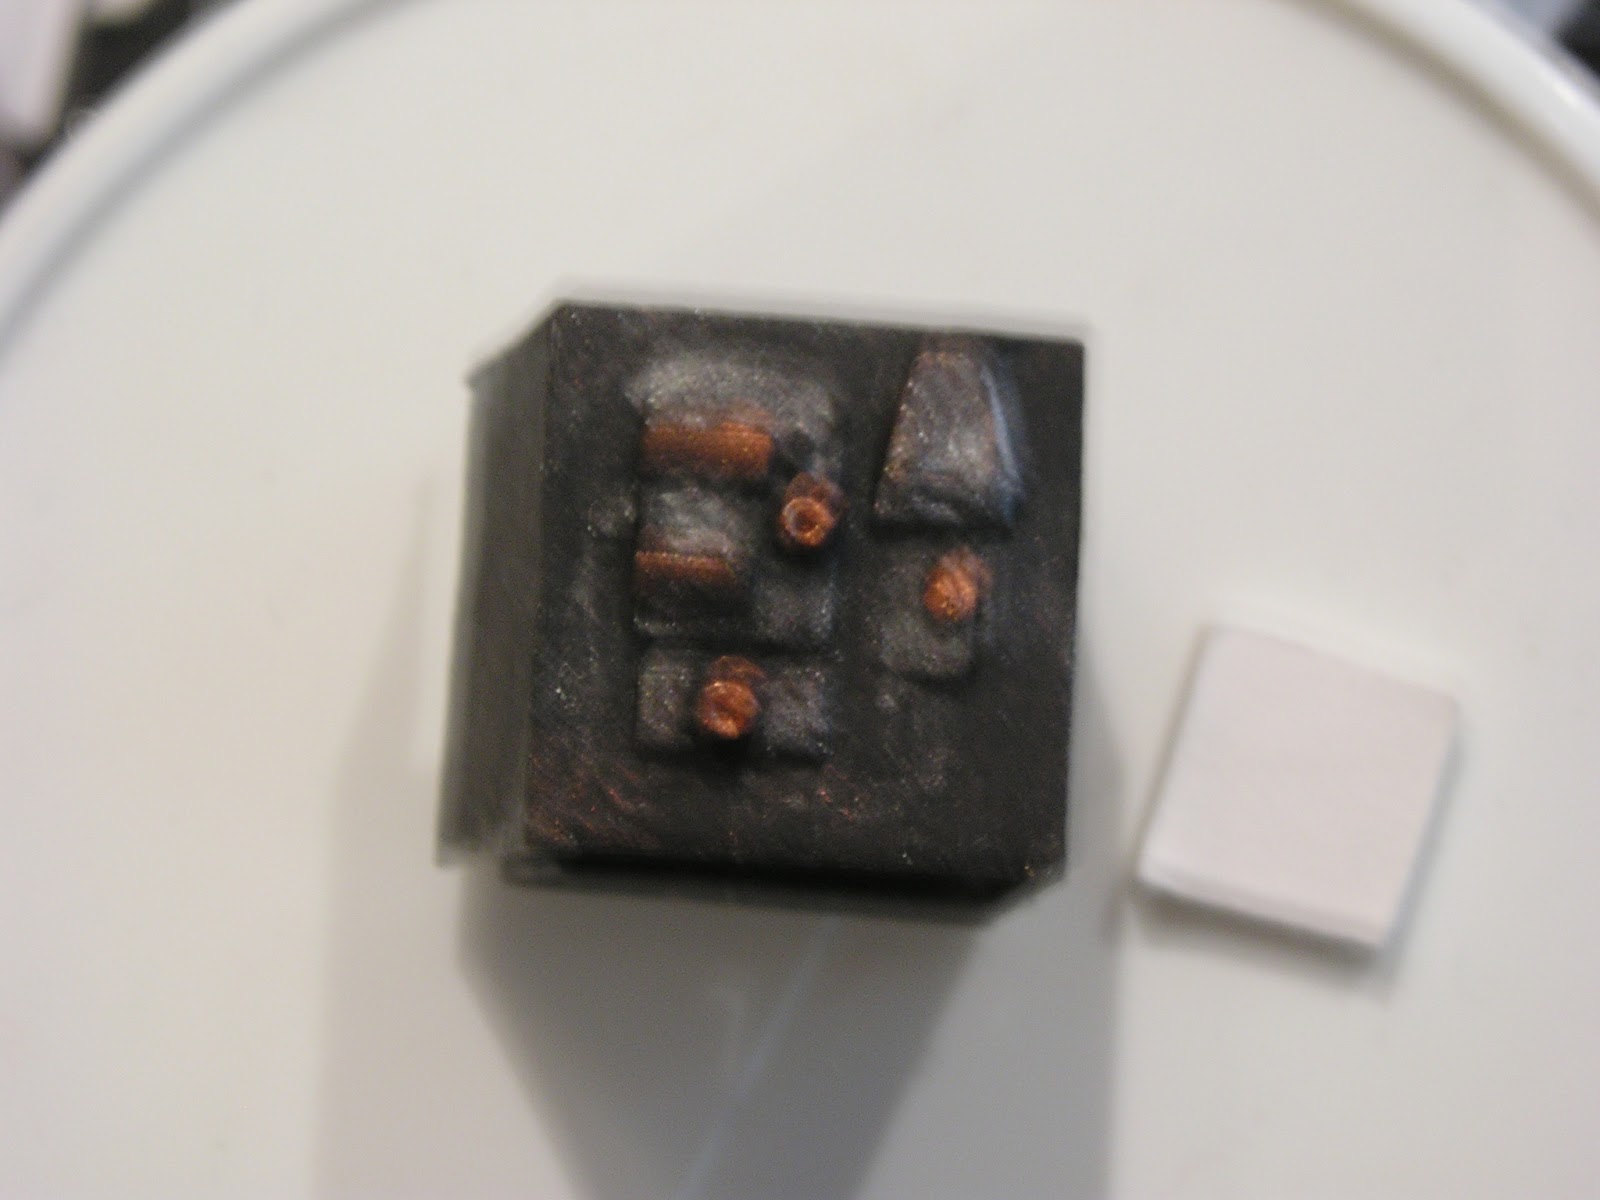
Finished Cast Iron Cooker
This is the piece with the skirt attached. I did put a varnish on it, as I wanted it to look like it was metal, and this way the details pop out a little more. I can see from the picture a few things need to be fixed, like the fact that the varnish seems to have gotten away on me. 

After the Cooker Gets A Raise
Hmm, not "horrendous", but...

Up Against The Door
 Still a tough call, but I am going to have to say...dang, that sink is wrong,  isn't it.  Obviously copying the pattern straight from the picture in the book is a total rookie mistake. Oh well, as I have mentioned before, there are different camps as to what quarter scale means, so - if I have a "bigger" quarter inch to fill, then that space will be filled. Again, its not that you win or lose in miniatures, but that you played the game. 

To close, I wanted to show a video of an incredible Beacon Hill that I found on youtube. The kit itself is not for the beginner, and even then you have to treat it like climbing Mount Everest, because it will try to throw you down an icy crevasse as soon as look at you, but I quite enjoy looking at them.  I also find it interesting how camera angles can totally re-invent a space and make it look full scale. Perhaps one day I will attempt a second BH, although this time in 1/144 scale, I think


...Until next time, my young padawans...

No comments:

Post a Comment