MECO Show and Sale

MECO Show and Sale
2016 Show & Sale will be the Saturday 14th May 2016 held at the Peachland Community Centre in Peachland BC. contact person Barb Janes-Yeo at 250-757-2842 barbandpaulyeo@shaw.ca

Sunday 10 March 2013

Miniaturist - The Musical

I tend to burst into song on occasion. No reason, just because I can. Am I any good? Well, admittedly the Grade I teacher took me out of the choir of our Christmas play quite abruptly, but I think that was more because she wanted me to have a speaking role as an actor, partly to force me to be less shy, and possibly to hear what my voice actually sounded like (see comment regarding "shy"). If it was the latter, she failed miserably - I was  actually voted "Most Quiet Girl" in my graduating class, and people still jump when I speak, as they aren't expecting it. They tend to accept that I am singing, though, which goes to show you, although I am not sure what. 

At any rate, I was out at a girl's mini night out, and the lament of one of the gals inspired me. Its a work in progress, but I think its got potential, and I think it is high time we miniaturists were represented on the stage...

Scene: At a Table. Lights come up. The music swells, and our Protagonist  begins to sing:

"Is this crooked...
Is this straight? 
Are my eyes gone? 
oh its so late. 

<music builds to crescendo
 
Where's my glue gone?
Now where's my paint? 
Leave it alone now, let it dry, 
Or it won't...... look..... rigHHHHHHHHTTTT...

<Music ebbs. Spotlight fades. Annnnnd....scene>. 

Of course we can put in a lot of dancing shirtless firemen or something to dance behind our protagonist, or some such.

Well, waddaya think? 

Drama Queen, Professional Ham
   
Hmm, maybe that is the true reason I got put in the lead of the play Oh well. 

Happily this week I found my focus, having moved some paper off my desk and there it was. I did a little more work on my Half Scale Valentine, and it is starting to shape up. As you may recall, I wasn't a fan of the table I made. I looked through my small library of plans, and found a book I bought several years ago called "Dolls' House Furniture - Easy-to-make projects in 1/12 scale" by Freida Gray (ISBN#: 1-66108-258-4, Pub. 2002), and found the so cleverly named "Round Table" below.  To bring it to the scale I wanted, I just halved all the measurements.

Round Table

Yes, the book does show you how to do the incredible paintwork on this table, but I didn't attempt it today. It is a fairly simple table, a round top, two square shelves, and four legs. The trickiest bit was the round top. There are probably easier ways to cut the round top, but I ended up scoring the circle shape into thin wood, and then carefully cutting the circle out. I could have also made a square, and then rounded off corners. I don't have a lot of tools at hand, so I tend to "mcgyvver" when I have to. 

The Plans
Circle Cutter
Above is my new toy. Strictly speaking ... it is for paper. But I did use it to give me a scored circle on very thin wood, which is way off "indication". It won't cut wood (and I finished the job with a sharp exacto blade) , but it gave me a decent guide to follow, with a little sanding work afterwards to tidy it up. I could have used a compass as well, I suppose, but where is the joy in that? Anyway,  I did need (i.e. I wanted ) a circle cutter and this one allows me to make many sizes, and cutting out a circle with scissors can make one positively homicidal, as it never comes out right


Not too shabby, anyway. The table top is about 1.5 inches or so, probably a little bigger looking at my cutting mat


Two Shelves

Shelf with Leg Holes
 The shelves were easy, as they were an inch square. I used 3/32 square stock for the legs, so that is what is cut out on the edges (both squares were done that way). Tip for cutting something like this - cut *against* the grain for your first cut, and then finish with the grain-wise cut. This stops your wood from splitting uncontrolled up the length of the grain

4 Legs

 I used my tried 'n true method of cutting the legs, taping the stock together, and making cuts on multiple pieces. 

Legs and Shelf
 I decided at some point that the thin wood I was using was a little too thin for the project, so I doubled the square shelf. Upon reflection later, I realized I could have just done a skirt for the side, so as to give it the illusion of thickness. Live and learn. 

Table in various degrees of put together-ness
 I didn't glue the bottom shelf in right away, as I wanted to decorate it, and as you might well guess, that isn't an easy job when things are put together already. However, it is starting to shape up. You will notice I did add a board skirt to the bottom shelf, like I didn't to the top. Before I decorated anything, I put a basecoat of white onto the table (as I want it to match my other furniture in my Valentine).

Decorated Shelf
 After a couple of false starts, I decided to use the paper I had already printed from Joanne Swanson's site, and did something a little different. I am quite pleased with how it looks. 

Finished Table
I gave the top the checked treatment as well, and then added the bunny valentine centerpiece - again, from Joanne Swanson's blog.  Again, the thickness of the wood wasn't thrilling me, so I skirted the round table with quilling paper to give it a more "solid" look.  Once the glue was dry, I finished it off with "Triple Thick" varnish. 

Table in the box
The table top looks a little wonky in this picture, but I think that is just an optical illusion, as the table top is quite flat in real life. 

I decided I needed  something to go on the wall, and got it in my mind I needed a heart-shaped shelf. 

Heart Confetti and Shelf Lay Out
  I had bought some heart confetti around Valentine's Day, and decided to use this as the backboard of my shelf. The shelf itself is as tall as the heart, but with extra added for a shelf - which is the centre line and the "neutral zones", for lack of a better term from this Canadian girl.  This method of shelf making is from the Petite Properties book of Furniture, modified for half scale. I love making shelves this way, less gluing, and less cursing the universe in general trying to get a shelf to be level.

Shelf Made
Heart Glued To Back of Shelf
 For the front of the shelf I just used some left over wallpaper that I had printed earlier to wallpaper the floor of my Valentine.  Once the glue was dry, I just cut around the heart.  When I got to the shelf bit, I left it with some overhang. I "gilded" the edges with my gold paint pen, and cut out some tiny Valentines for the shelf. I also used that rose I made from last week to add a pop of color. For a shelf brace, I punched out two hearts from fun foam, glued them together, and positioned accordingly. 

Starting To Shape Up!
 I found that lace sticker at a craft store. I like how it breaks up the endless pink check with a little softness. The little Valentines plant I received many moons ago in a swap, when that sort of thing was more common amongst miniaturists. I have "tied" my balloons onto my chair and painted the wire "strings"
Stage in the Box
 Here is how my Valentine looks inside of its box. I re-bordered the window, as the lace just wasn't making me happy. I accented with the heart confetti (as used for the shelf back). On the table now are some chocolate covered strawberries, and a plate of chocolates and petit fours. Still a few things to make, but it is progressing nicely. 

I made the plate for the strawberries out of some interesting metal stickers I found (which may also end up being 1/4 scale table tops, we shall see). 

 Oooh, I should save this package. Look at the interesting-looking shape - perhaps it could be used as a mold for for a smaller scale cake eventually? Always view things with an eye of "it is what it is, but what *can* it be?".
 

Linen Press
As I don't want you to go into a diabetic coma with my Valentine, I shall abruptly change the subject. 

Continuing on with my journey towards moving into Washtub Cottage, I made a linen press this week. This one does not open. I did my usual M.O. of drawing out the pattern, and building as per directions. It is actually made of two boxes, stacked on top of each other. 
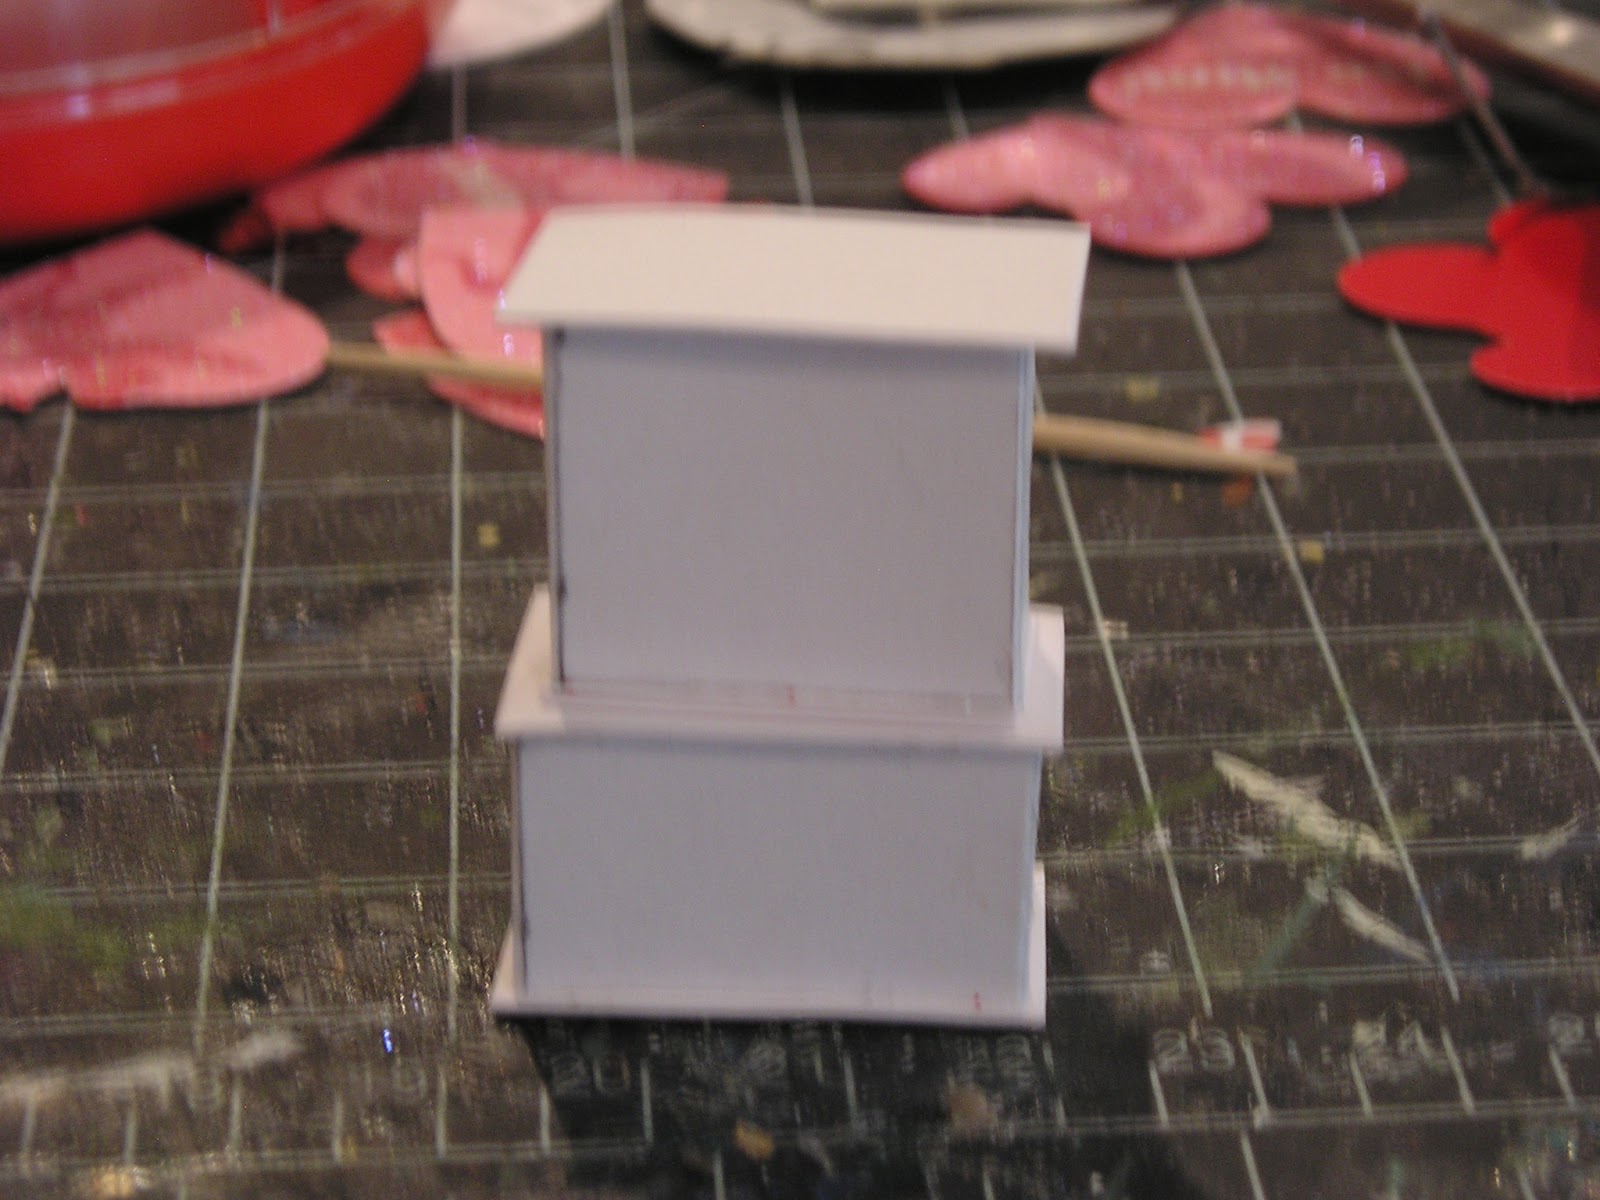
Linen Press, nekid
  Then the "drawers" were added. I found the best way to space the drawers was to put a box cutter blade in between them - this seems to do the trick. 

Linen Press with drawers and doors
 Starting to look like something already!

Almost Finished
 Add some paint, drawer pulls, and feet, and Voila! I still have some touch up to do, by the looks of the picture. Is it me, or does this linen press have a stunned expression? Okay, you got me, its me who has the stunned expression...

That is what I did this week. Happy to have a little of the music back that was missing from last week. 

To finish up, here is a neat tutorial posted by "Creating Dollhouse Miniatures". She has a great blog, and worth a visit. Please enjoy "Chocolate fondue and strawberries'' 

 
I bid you a fondue fairwell, before blogger crashes on me again. Until Next Time, my favourite Time Travellers!
 

No comments:

Post a Comment