MECO Show and Sale

MECO Show and Sale
2016 Show & Sale will be the Saturday 14th May 2016 held at the Peachland Community Centre in Peachland BC. contact person Barb Janes-Yeo at 250-757-2842 barbandpaulyeo@shaw.ca

Sunday, 20 January 2013

Tabling the Discussion

"Reclaimed" Farm House Table
Winter persists. The biggest debate in this city right now, it seems, is who is responsible for what when it comes to snow removal. The city maintains that by by-laws, a home owner is responsible for the side walk outside of their home (tough cookies if you live on a corner lot and have twice as much sidewalk, but these are the things you should consider when buying a house).  Some of the citizenry, in defense of their inalienable right not to get off the couch, grab a shovel and have a little civic pride, invoke the time honored answer of  2-year-olds everywhere ... "NO! Don't WANNA".   As you might expect, walking anywhere this week is an adventure in ice skating, and that is even with wearing boots suitable for a 6 month stint at the South Pole. 

The good news is, it is only 2 short months left until spring, and then the city and its loving citizenry can find something else to butt heads about (insert your own jokes about "butt heads", if you must). 

I continue with making quarter-inch scale furniture for the fabled "Washtub Cottage" by Petite Properties. First, a resolution of the issue I had last week, vis-a-vis the recalcitrant sink which insisted on being too big. In the end I remade the sink, drafting my pattern to the cardstock rather than printing out the pattern. Low and behold, look at the difference

Sink Comparisons Photocopied Pattern (left) and Drafted (right)
 
I was expecting it to be shorter, but proportionally wider? Not sure why the proportions would be off width-wise, but it is probably a math thing. Both cute, but the smaller one works better. I also changed the smaller one a bit, putting it up on bead feet, which I thought was cute, and I hate to make two of anything exactly the same (which of course is the reason to get into making exact scale models, right?). Blame the Right Brain, I often do. 

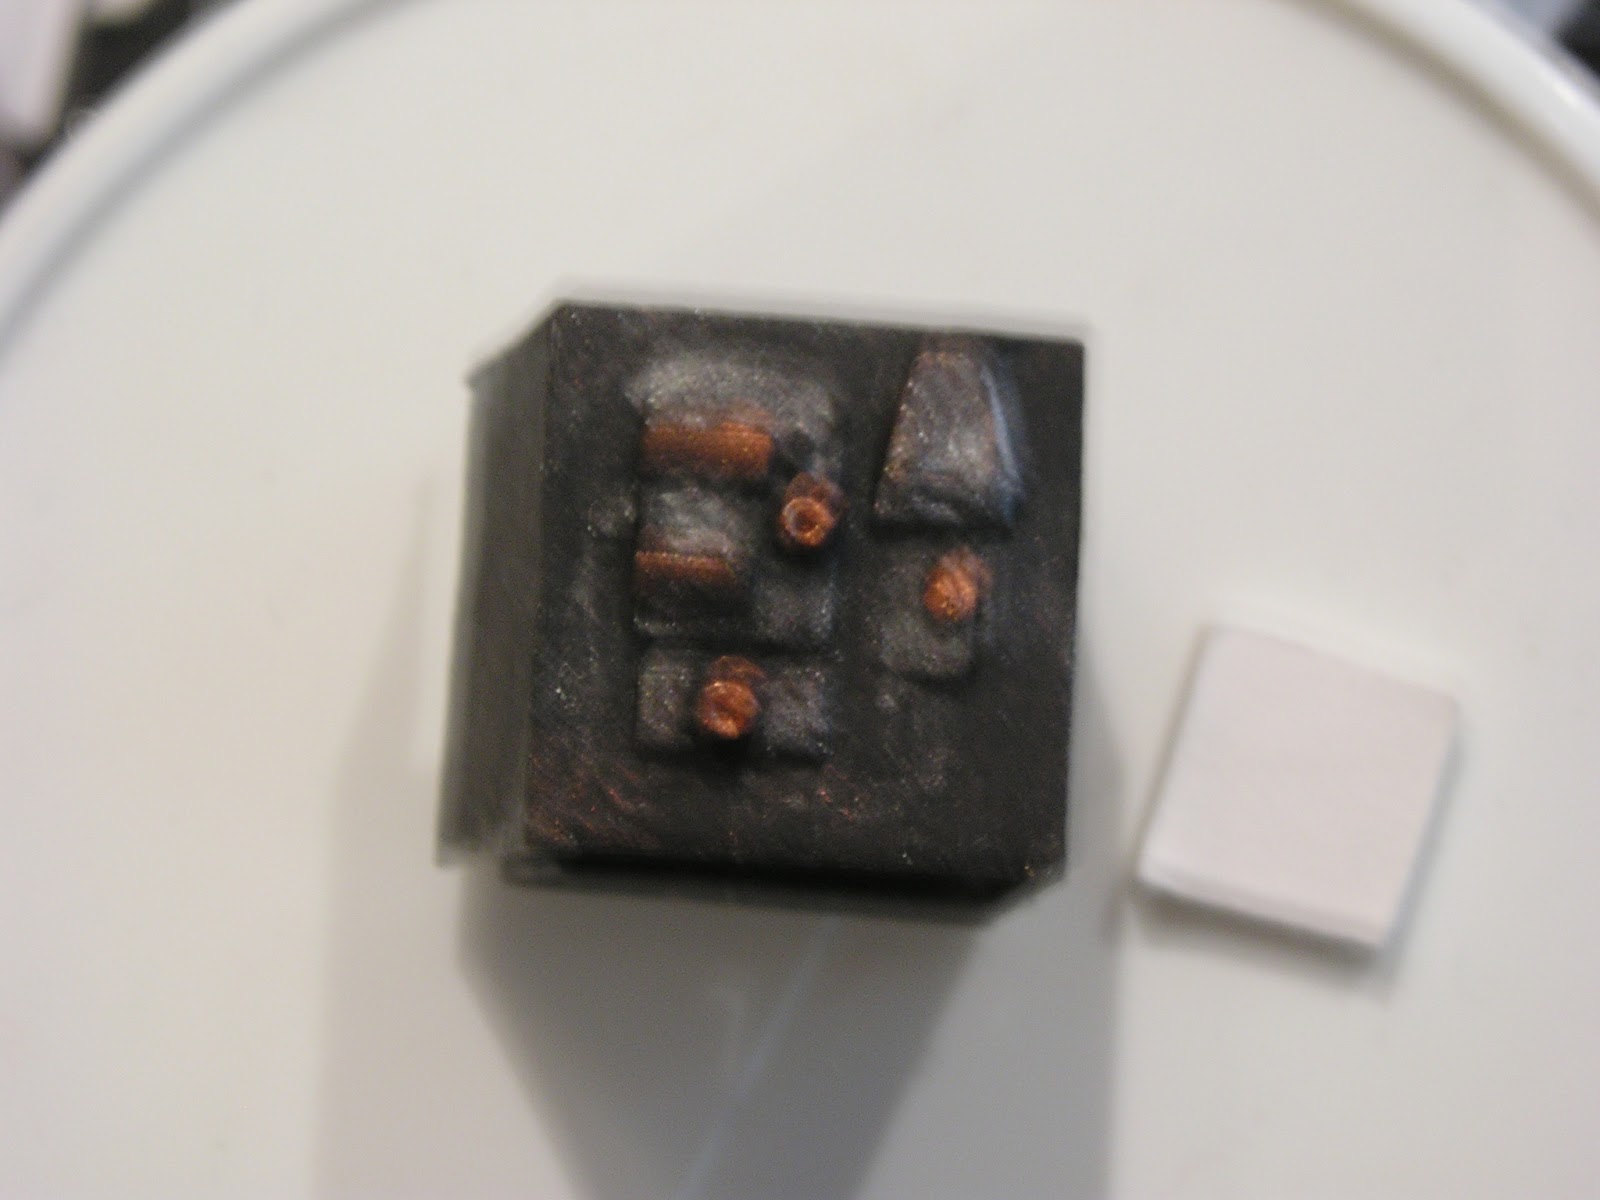
Drafted Sink beside Finished Cook Stove

The stove doesn't look so puny now that the sink has been cut down to size.


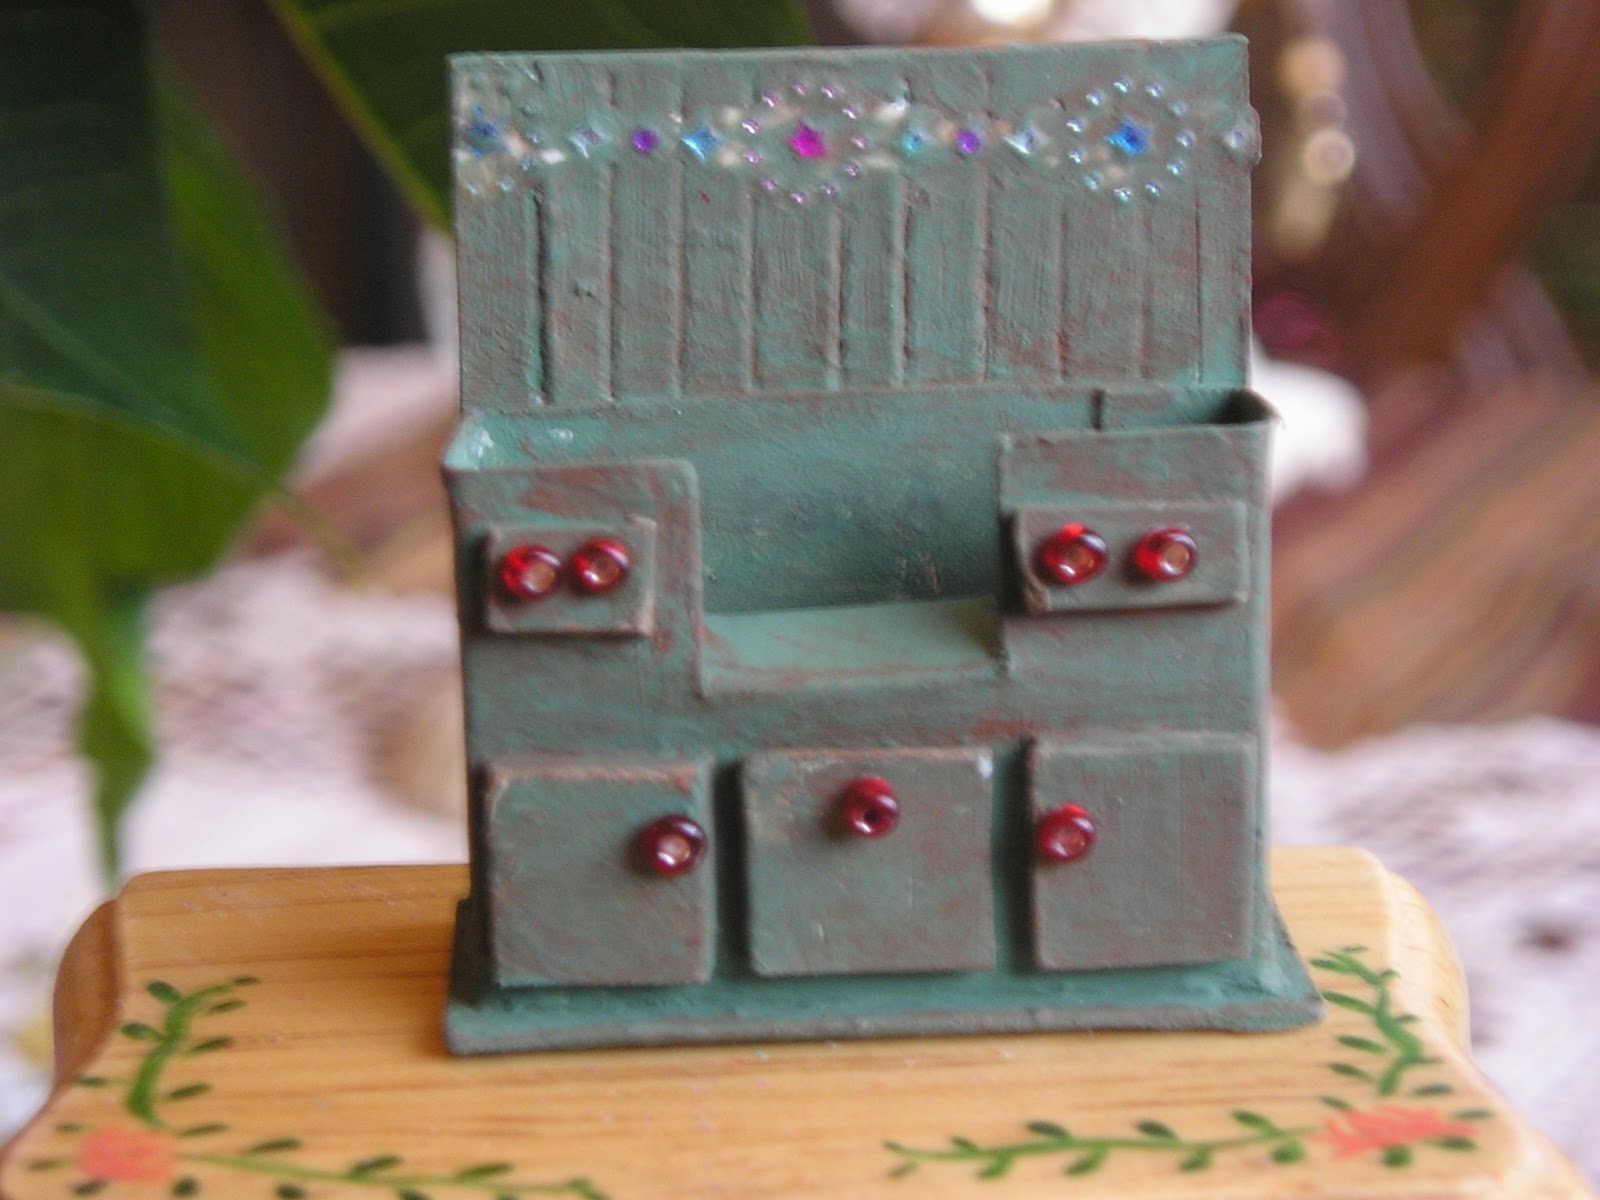
Cook Stove and Sink, second view
Much better. I also changed the sink to a single faucet, as the sink seemed too crowded with two faucets. I did live in a house that had a sink like this - it was a Royal PITA (Pain In The ...you get the idea) to use but in miniature I suspect it is a much smaller problem.

Once the above had been satisfactorily sorted, I flipped my pattern book until I came upon the next piece to catch my fancy - all will be built eventually, but apparently there is a bizarre rating system of what is most important to build on any given day. Today I chose this amazing little farmhouse table. 

 
Petite Properties Fiona Broadwood "Farmhouse Table"
Yes, again - this is all paper. As lessons have been learned over the past few weeks, I begin with drafting my pattern onto cardstock. One thing I learned today - the cardstock I was using does need to be doubled for a piece of furniture such as this, as there is an awful lot of weight that is being supported by the side pieces.  Near the end, once I realized the structural concerns, I would draft my pattern out, score it on a "folding" end,  fold and glue to give me a stronger weight of cardstock. This is a must of course assuming you are using a cardstock that is as light as I was using. If you start out with a heavier cardstock or a light cardboard, you will not need to re-enforce in this manner. This table is actually made in 3 parts - table top, table structure, and the under table with the slats.  I doubt if "under table" is a word, if you are curious, it probably has a name but this will do until I stop being lazy and look up the answer in  *Grey's Anatomy of Common Tables. 

*not a real publication

The Table, drafted
Once again, with my amazingly questionable photographic skills, I show you the drafted pattern. The legs are only 1/16th of an inch wide. This is where you have to be very careful in how you cut, where you cut, and where you find out if you have mad measuring skills or not. The pieces I had to cut out from the interior of the pattern, I found scissors (scrapbooking scissors with a sharp point at the end for preference) were more useful than a blade,  which becomes somewhat bulky and unwieldy at this size.


Table, Cut out and Folded
This piece I unfortunately didn't double, and you can see how fragile it can be. As one adds more elements, of course, the piece becomes more stable, but again, those spindly little legs need strength to support itself. 


Table Top
 The table top again is a piece of matboard, scored, as I did with the sink backsplash. 

Upsy Daisy!
Here I glued the base to the table top, with the scored side of course facing down.


Table, upright


Base Piece
The piece that goes on the bottom of the table started out as above. This time I was smart and doubled my card for structure. The thickness  also helps when you need to glue bits together. 


Table Bottom Structure, excised.

Bottom Structure with Slats
 I cut out the tiny little slats for the table. I use a quilter's method  when I have to cut many little pieces that have a specific need for uniformity - I cut out a single straight piece of cardstock the width of my longest side (in this case the height of the slats), and then I can cross section my needed slats without worrying about that pesky uniformity in height. These were a little tricky to cut even so as again, they were 1/16th of an inch wide. A cutting blade and pencil marks can seriously mess you up, and in the end I "eyeballed" the pieces. This is obviously not the recommended way to do carpentry, as our eyes cannot be truly trusted to get dimensions exactly right, only estimations, but with small things and with experience you can certainly get away with certain short cuts in small scales you simply can't in bigger scales. Also, if you are doing "rustic" like I am (translation: you can get away with so much more if it is supposed to look banged up), the unevenness can add certain charms. That, at least, is what I keep telling myself.

Wibbley Wobbley Table
 Part of the wibbley-wobblieness of the table is partly because the glue hasn't set, and part because the legs are getting quite a bit of weight on them now. I have glued the slatted base onto my table, and I have added several little skirts to the table, to flesh it out a bit, and to give it more visual "weight". I eventually did have to re-enforce the bottom legs, because they were becoming obviously strained.


Table, Painted
 Ah, the glue is dry, as is the first coat of paint. This is a good time to check for missed spots, and I would suggest taking the piece over to a window in the middle of the day, and you will find your missed spots, which can be alarmingly many for such a little project.


Farmhouse Table, Disgustingly Pickled
And Voila! A very complicated looking table, ready to be decked out in table-related finery. To my eye, this isn't a dining table, but a work table, where maybe bread would be prepared, etc, or used as a side board, because it is tall for a table. It could easily be translatable into a gardening bench, if someone were to take that as a fancy. 
 
 Speaking of fancy, I would like to conclude today with a really cool cake tutorial from the good people at youtube, because,   as mentioned, you can't make a table without thinking a little ahead about what is going to be sitting on top. This is a simple technique, but a great many possibilities. The DIY'er, by the name of Toni Ellison (clever girl but not anyone I know personally),  I suspect used one of the cutters you can buy for poly clay, but certainly an innovative soul could do the old poly clay rope trick, cross-section and assemble as in the video, and achieve a similar effect.  This could be very easily "scaled down" for a 1/2 or 1/4 scale offering as well. Very Cool Project, Toni, whoever you are. Until next time my friends...


Sunday, 13 January 2013

Heating Things Up

Google Image of Woman and Cook Stove
Yesterday was my birthday, and it was a lovely time had by all, although it has been a hard birth date to love over the years, admittedly (as anyone born within 3 weeks either way of Christmas will tell you.) First, you get combination gifts, as people see this as a grand opportunity to save money. Second, gift givers feel compelled to wrap said gift in Christmas paper. Those same gift givers are suitably confused when, in July, you hand them their birthday gift wrapped in Christmas paper, and tell them it is a combo gift for them, so you can save money *next* Christmas. Third,  December or January babies are more likely to find their gifts delayed by inclement weather, or their day plans scuttled by a blizzard and/or a sudden dip in temperature where it is too miserable to go outside at all. 

Over the years people have learned not to give me combo gifts, and not to wrap them in Christmas paper, as I have been a real humorless jerk about it all.  However, I so far have not been able to do do anything about nasty weather, and this weekend of course saw the coldest day we have had thus far this winter.  I think that we all need to warm up by the fire (how's that for a segue?).

Cook Stove by Fiona Broadwood
This is another offering from the Petite Properies gang. The design incorporates a way to actually light this stove up, which is intriguing. 

The project started, as always, with a paper template. Today I decided to draft the template from the patterns, rather than print it on my copier, as it takes a lot of ink and I wasn't feeling lazy today. 

Paper Pattern for Stove
Pattern Cut out
Before I cut the long sides out, I scored the inside lines, as it gave me a bit more stability as I was cutting. The circle is cut with a hole punch, and the little square drawn in the second panel will be a tiny door. 

Base of Cookstove with cut outs
Just to orient you on the base, the circle cut out goes in the back. That is the access should you wish to electrify the  cooker eventually. That little access panel to the fire on the front side was only 1/8 by 1/8 of an inch square. 

Oven Door, Ash drawer and Fume Hood
I was asked to cut out the oven door, ash drawer  and fume hood from scraps of "medium" weight cardstock. I used a thin cardboard from my recycling, as matboard was going to be too thick. Note the scale of these pieces. I was cutting them with scissors, but using tweezers to hold the pieces. The fume hood has a tiny metal accent across it, which is a very thin piece of wire. 

Oven Door, Ash Drawer, Fume Hood attached
These are the pieces assembled, with base still flat. The ash drawer eventually received a tiny little bead as a handle, although I cut a very miniscule piece of the thin cardboard for the fire access door handle, as the bead was insanely too large for the tiny door. To make the access door to the fire appear to have fire in it, it was suggested to glue a tiny piece of orange cellophane across the opening. I didn't have orange, but I did have a plastic Easter goodie bag that had orange incorporated into the design, and that filled the bill.

Base, painted
The base, painted. Originally everything was supposed to be black. Unfortunately, the problem with everything being the same colour is you lose the detail you just took great pains to achieve. I gave this piece a silver paint wash, and made the handles a copper color. The base in this case was painted before it was glued together - both sides.

Cook Stove Top
I went off script a little, in that I made a slightly thicker top for my stove. I cut out two pieces of the thin cardboard, same size, punched a hole in one and painted it black, with the second portion painted silver, as above. I didn't have any silver paper as they called for for the hot plate,  but I did have silver paint. Hint with metallic paints - you are better off to do a base coat of a matte color and then an over coat of the metallic paint. It gives the paint something to stick to, and you get a better look (in my opinion, your mileage may vary).  I glued these two piece together, and glued that to the stove. 

Stove Top Added
You can see the "fire" inside the open access panel. Its coming along! 

Stove with a Few Details Added
I added the hot plate lid, as in the source picture. It was a little plain, so I added one of my little stickers  I mentioned from last week and painted over that with black, to get a nice cast iron look to it. The chimney assembly is clever - an eyelet and a toothpick (cocktail stick). In the end I wasn't pleased with the straight up chimney, so I added a bend, as you find in the cast iron stoves. 

Oopsie
In looking at these two pieces together, I am not thoroughly convinced that I didn't mess up in measuring on one or the other piece. It might have been a mistake to photocopy one for the pattern, and draw out the other, but this is how we learn.  Although again, when I look at the picture at the beginning of this blog post,  that stove is teensy, and so arguments could be made that the above pieces "belong" together after all.

In trying to salvage the cookstove, though (although it might eventually be the sink that needs to be redone, we will see) I decided to add a little height to the stove. I have seen very small potbelly stoves and cookers, so it was worth a shot to add height, and adding interest to a piece is never a bad thing.

Skirt Assembly
I tell the truth when I said I used some thin cardboard. Apparently something that once housed espresso, my preferred morning wake up call, is being put to good use. I started out with a thin strip of cardboard, which I scored in appropriate places. I used a round hole punch to make the half circles for the skirt, then a base on top to stabilize the skirt assembly and act as a solid base to put the cook stove on. 

Finished Cast Iron Cooker
This is the piece with the skirt attached. I did put a varnish on it, as I wanted it to look like it was metal, and this way the details pop out a little more. I can see from the picture a few things need to be fixed, like the fact that the varnish seems to have gotten away on me. 

After the Cooker Gets A Raise
Hmm, not "horrendous", but...

Up Against The Door
 Still a tough call, but I am going to have to say...dang, that sink is wrong,  isn't it.  Obviously copying the pattern straight from the picture in the book is a total rookie mistake. Oh well, as I have mentioned before, there are different camps as to what quarter scale means, so - if I have a "bigger" quarter inch to fill, then that space will be filled. Again, its not that you win or lose in miniatures, but that you played the game. 

To close, I wanted to show a video of an incredible Beacon Hill that I found on youtube. The kit itself is not for the beginner, and even then you have to treat it like climbing Mount Everest, because it will try to throw you down an icy crevasse as soon as look at you, but I quite enjoy looking at them.  I also find it interesting how camera angles can totally re-invent a space and make it look full scale. Perhaps one day I will attempt a second BH, although this time in 1/144 scale, I think


...Until next time, my young padawans...

Sunday, 6 January 2013

Getting that Sinking Feeling...


Eastman Photo, National Geographic Contest


The above photo, apropos of nothing else,   just amuses me. I have had days like this.

Well all, hopefully you are settling into 2013 quite solidly, and are ready to tackle the year with much aplomb, or other fruit of your choice. Let's get on with it, shall we?

Today I felt a little quarter-inchy (probably not an official word, but people who write dictionaries tend not to get out into the world much, and they rarely call for my neologisms anymore), and I dug into something I bought a few months ago. One of my friends decided that she was going to downsize a bit when it came to miniatures, and focus more on one scale only. Fair enough. Occasionally miniaturists do downsize, although it was  suspicious that the world was supposed to end within months of her making this decision - coincidence? I will let you decide. She was gracious enough to share the wealth that was her quarter-inch stash, of which I grabbed a sizable chunk. 

One of the treasures (and oh, did I ever get a boatload of treasures, did I mention? )  she sold to me was an offering from Petite Properties . This company has some wonderful little houses, in various smaller scales, along with instructional books. The best part of their instructions is that they rely heavily on commonly available supplies. This is one thing I have appreciated about the British over the years (outside of Dr. Who) - you almost never have to go farther then your office supply store or craft store, or sometimes even your junk drawer, to complete a project, and never have to order the special kit that is only made by cloistered nuns on a Tuesday at midnight during a full moon.

 I look forward to starting my Washtub Cottage and populating it with the furniture from the instructional books. Today I felt like making the small sink cabinet, as below: 

The Sink Cabinet - Petite Properties - Part 2: Fiona Broadwood
 Impressive little beast, isn't it? Believe it or not, it is made of paper, seed beads, stickers, matboard, sewing pins and staples - McGyver would be proud. 

Template For Sink
Very simple - just a "fold and glue" interface. I used my cardstock and just photocopied the pattern. I could have easily traced or drafted my own as well, as the diagrams and sizes are well mapped out. I did admittedly have a little trouble with some of the dimensions, as I am relatively sure that I measured correctly in some steps, but the proportions were off. I am not sure if it was a typo in the instructions, or if it was because I photocopied the original and did not draft it out - although I was told to trace the pattern, leading me to believe I did not start out with too small of a base. If you buy these instructions, just remember to dry fit and use your own good judgement if something doesn't feel right. 

Folded Sink Cabinet
It is a little difficult to see, but this is the cabinet when folded up. At this stage of course it is a little fragile, but that problem is solved with adding the base. 

Better-ish Picture of Folded Cabinet
Adding a Base
The cabinet was attached to the base as above, just before I ripped it off and went a different way. I found the instruction to glue to a big piece of cardstock or matteboard a little difficult to do, in that it was a bit of a pain to try to cut around it equally. I went an alternate route, and just cut out 3 cardstock bases, glued them together, and then affixed the cabinet body to the base. Helpful hint - applying glue to the bottom of cardstock is a messy affair. What I chose to do is put glue into a tin pie plate, then dip the cabinet body into the glue. It wasn't as fiddly that way. 

Cardstock Base, before Gluing Together
I found 3 pieces of cardstock piled together gave me about the right depth for a cabinet base.  Always remember to let the glue dry thoroughly, and then trim sides if needed. 

Back Splash
The back splash started out life as a tiny rectangle of matboard, which was then scribed to make it look like wood. Remember your math class/physics class in that - when measuring - always be consistent, and don't measure from your last line but from the straight side (lest you make a variation of the  "Tsar's Finger" - whether the story is true or not, the logic is sound. If you are out by a little on one line, it means you will be out that much on the next, and the next, and so on and so forth. It is better to always have a reliable benchmark to start from). The other important math tip is to follow again the Rule of Three - never join a line with only 2 measured points, because there is too much variation, a 3rd point gives a mental check mark that your ruler hasn't shifted.  Also, be consistent with your ruler, because moving the start point matters greatly the smaller you make an item.

To scribe the lines in, I used a knitting needle over my pencil marks. It is blunt enough not to cut the paper, but small enough to make realistic looking plank marks. 

Back Splash and Stickers!
These books make use of the scrapbooking stickers - I bought these in a dollar store, but they are pretty common as scrapbooking is still trending at the moment. These ones I bought because ...well.. they were sparkly for one, but also because sometimes my slightly psychic nature prompts me to get supplies that I have no idea what I am going to do with, before they disappear from store shelves and I can't find them in the retail world but... mostly because they were sparkly. I didn't buy them for this project, but they worked well once they were dulled down a little with paint, and they add a nice little interest for the cabinet.

Little Cabinet Painted
The cabinet painted a lovely forest green, and the brashness of the sparklies has been tamed. These stickers are very delicate, so much care should be used when working with them.

Little Drawer and Cabinet Doors added
I think I could have done a little better cutting job (note to self, change blade in matboard cutting tool), but you get the idea. These are matboard, cut into squares and rectangles - what could be simpler?   They were actually supposed to be glued on first, then the whole thing painted, but I gotta be me, as I may have mentioned in the past. 

Painted and "Antiqued"


Once everything was painted and dried, I "antiqued" it with diluted brown paint.  From this picture you  get a good feel for scale, with  the background of a crocheted table cloth. 

Cabinet with Drawer Pulls Attached
I happened to buy some very small red seed beads that had a silver tone in the middle  from the dollar store. I was going to paint them up, but I kind of like the contrast here. With using tiny seed beads, try to use beads that are similar in height and shape - not all seed beads are created equal. One could also use holeless beads for pulls, or even very thin tiny pieces of metal or painted paper as well. 

Cabinet with Sink
It doesn't look like much now, but that is a sink sitting in the middle. I think if a second one is created, I will make it square, the oval that they had me make was a little difficult to glue. I also found the method here a little fiddly, because the cardstock wasn't really pliable enough to glue nicely around the formed base. Perhaps I should have just used regular printer paper for this step, and then built up the thickness with paint.  Or I could have let the cardstock find its natural curve, and then glued that down to a base (they did, however, want the sink to hide the base,  but a clever chicken can always do a little camouflage if need be). What a person could do as well, if they were so inclined, would be to make a very small polyclay sink base. 

I ended up painting my sink silver. I just thought it lended a rather interesting charm to it. 

The Sink Top
This is how the counter top started. It is not how I finished. This is one of those steps where I found the numbers to be a bit off, but no fear, I simply adjusted to fit. In the end I went with a square sink top, but instead of having the back open, I left the "cut away" piece intact, merely scoring it and folding it back. I found it added a bit more 'heaviness' to the cabinet, and more depth. 

Sink top with "cut away" Still Attached
The above is a bit better representation of what I was talking about. I used matboard but could have proceeded like I did for the base as well, it would have just taken longer. I painted it and then did a little antiquing. 

The next step was fun - the faucets. The pattern called for dressmaker pins and staples. I suspect my stapler is currently behind a wall of treasures, and I didn't want to dig, and I used jewellery findings instead

The pins were cut down first. I can't remember where I picked this hint up, but at some point someone told me when I am cutting small, unpredictable pieces of metal that can fly anywhere and of which can come back to haunt you later, one should cut the metal in a plastic bag. This prevents inconvenient discoveries later on. These cut-down pins were drilled through the cabinet top to act as taps. The findings were glued as the faucets. It is fussy work, but very impressive once you have gotten things positioned and the swearing has stopped. 

My Finished Sink
And There you have it, one very sweet little sink cabinet. I trimmed the top with a little piece of painted matboard, and painted where the faucets come out silver. I am impressed with my first foray into the Petite Property line, at any rate. 

That is all for today,  and I hope you enjoyed this little review - until next time, my loyal friends!


The Real Full Sized Deal for Comparison